Ham and Cheese Roll-Ups (No-Cook, Make-Ahead Lunchbox Pinwheels)
1 pot · 10 min · serves 4 roll-ups

Tested in my kitchen


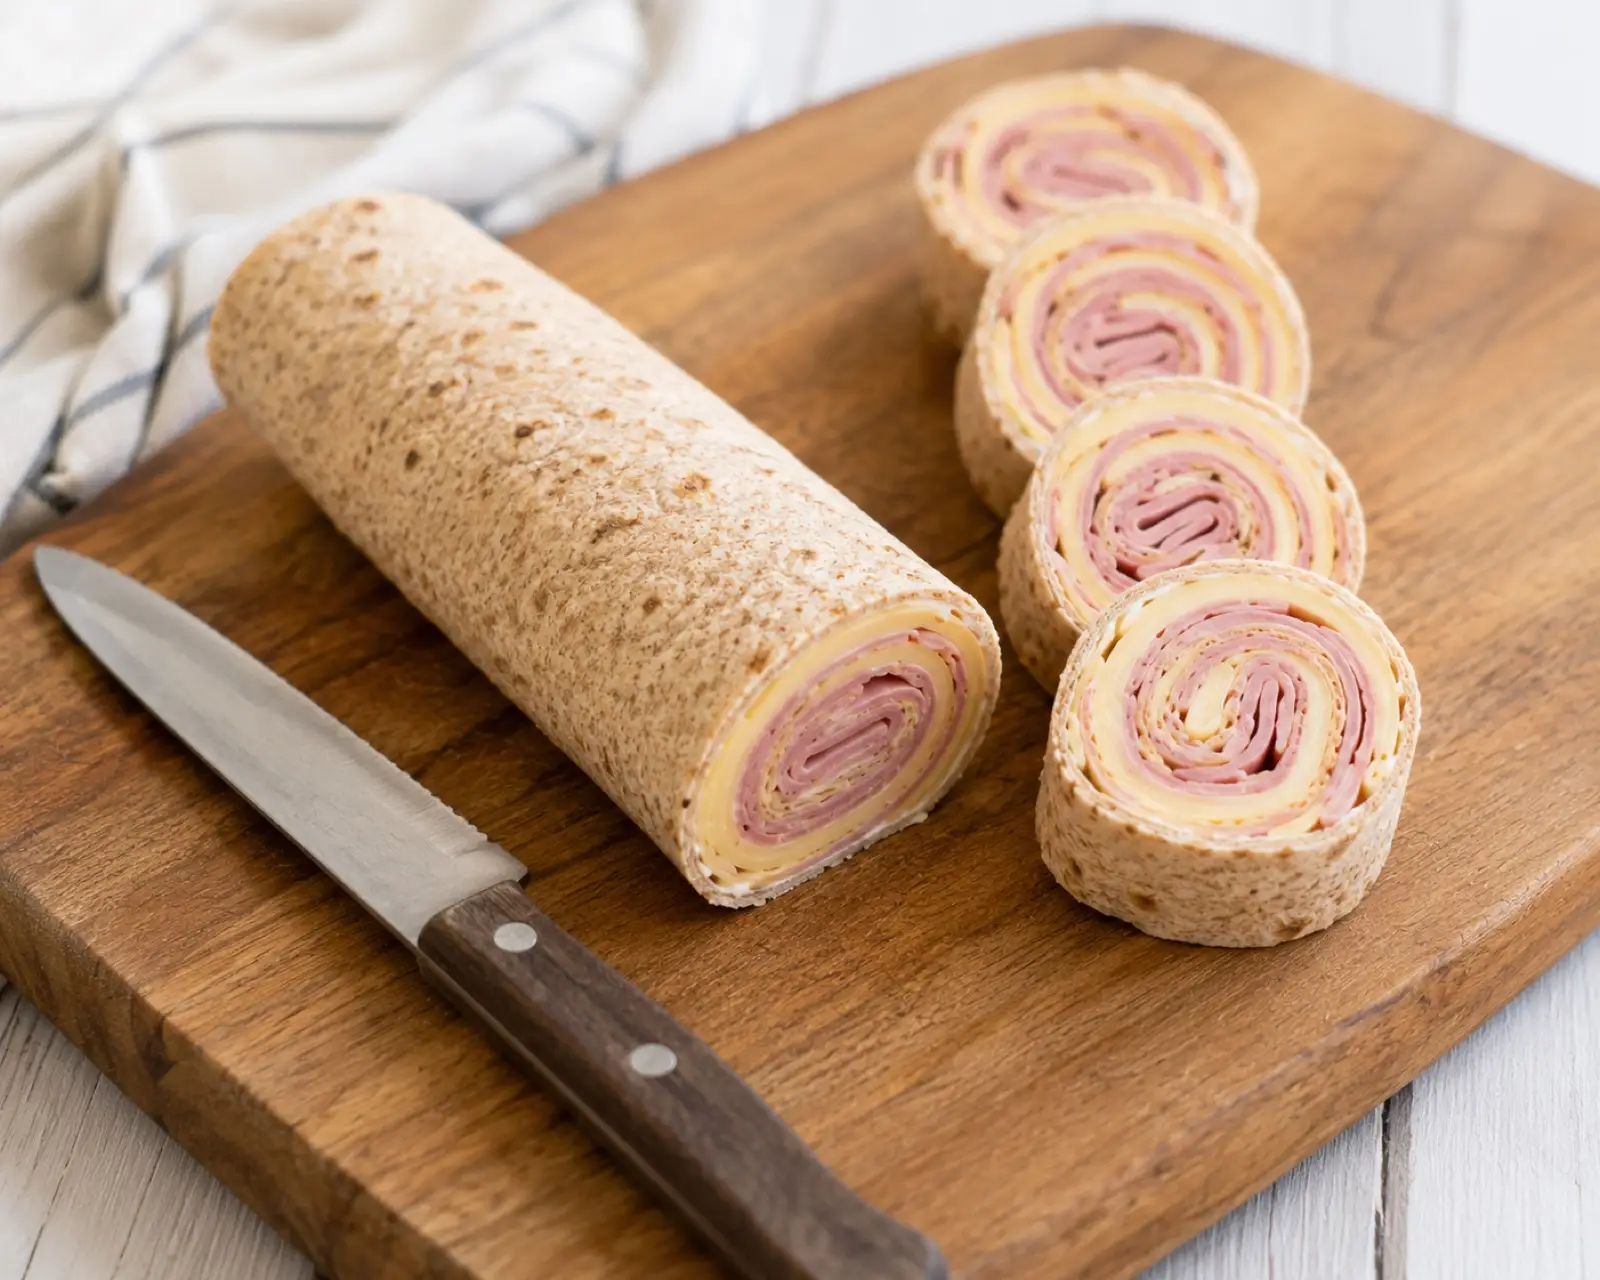
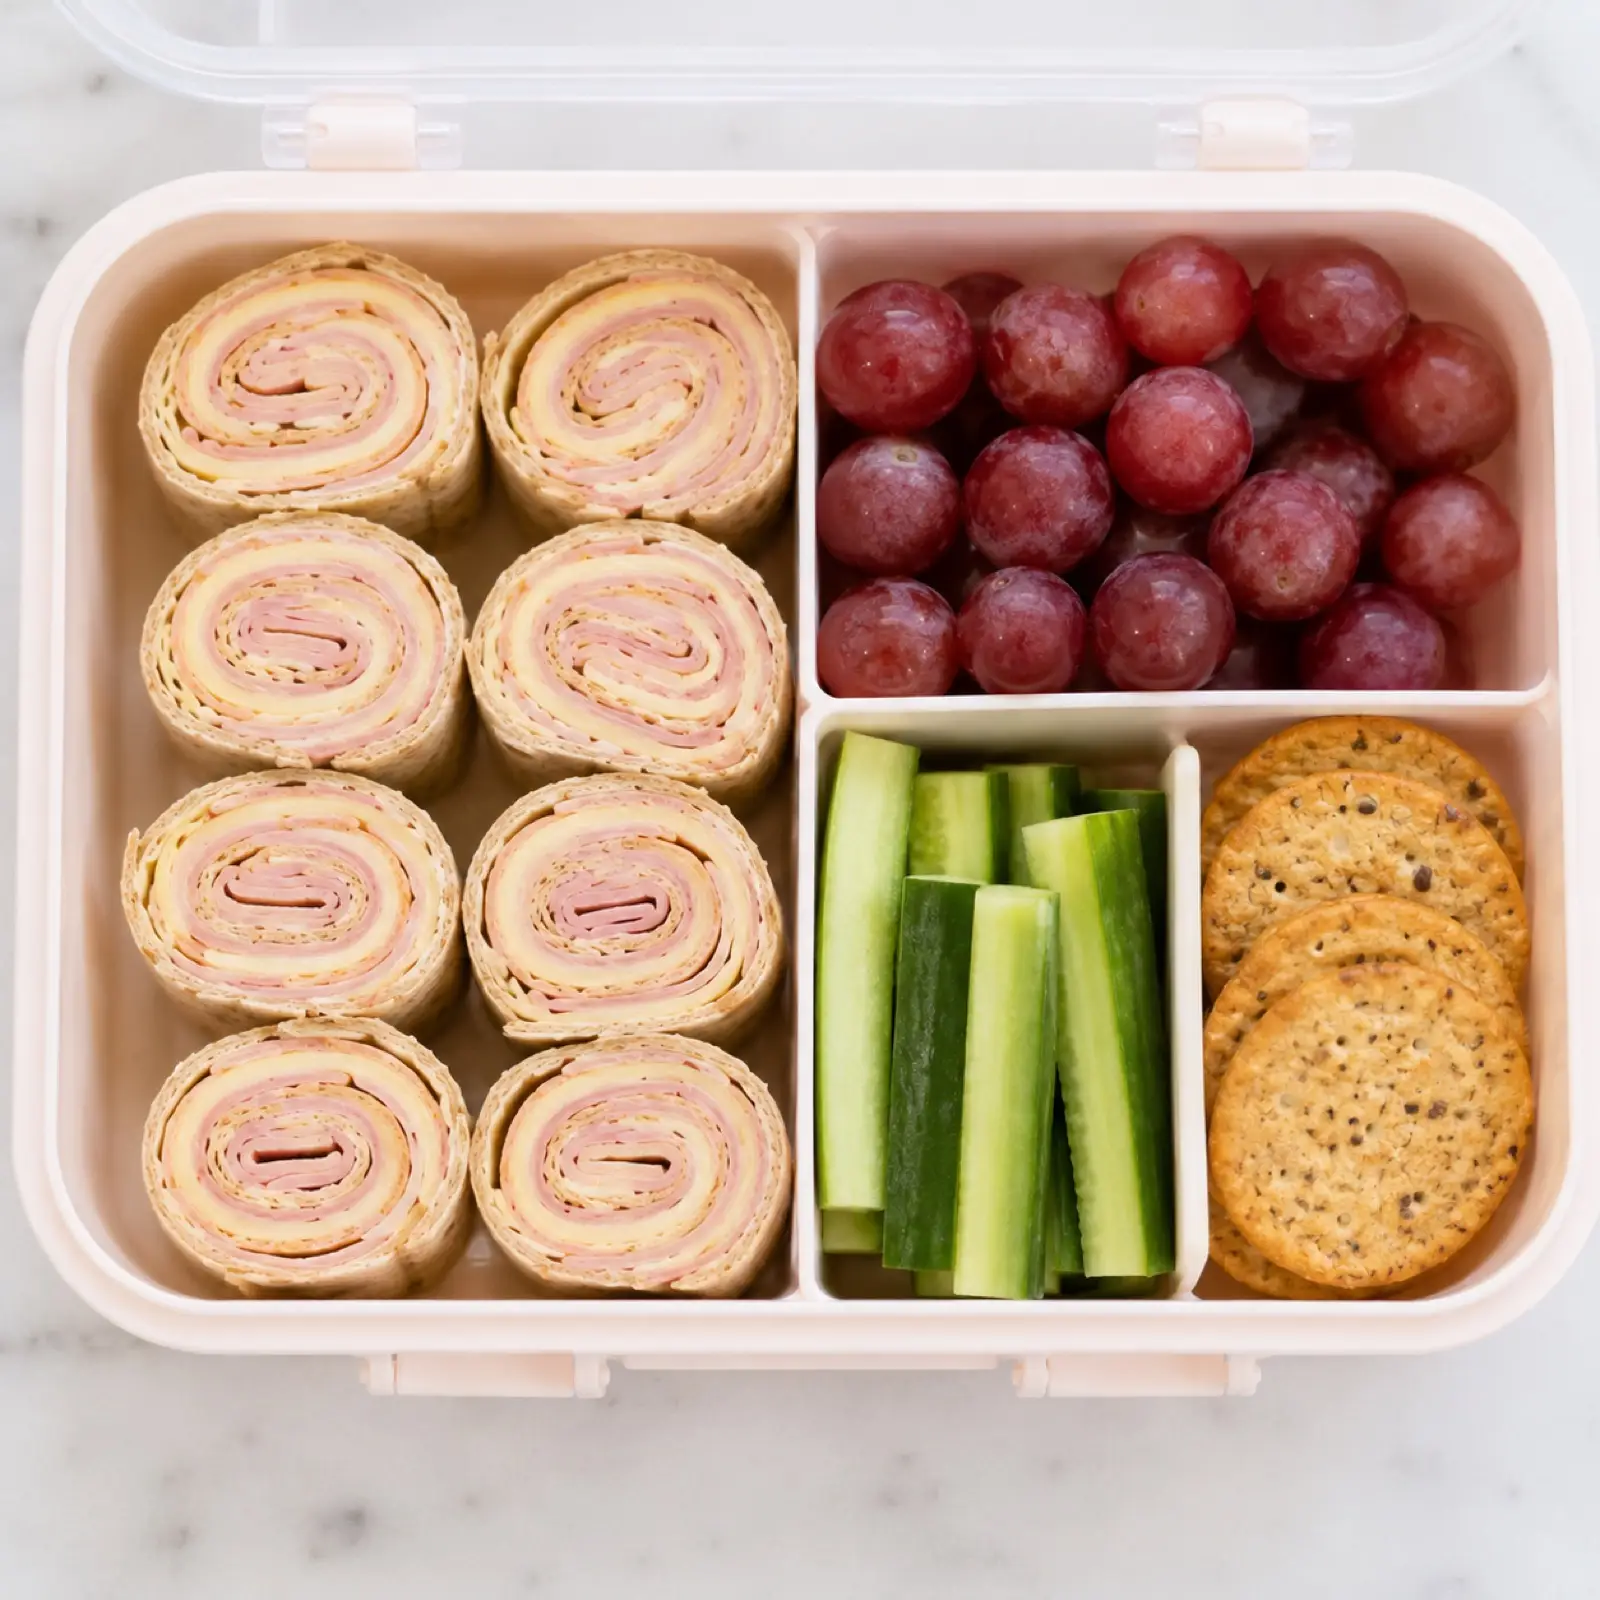
These ham and cheese roll-ups are my no-cook, back-to-school shortcut: whole-wheat tortillas rolled with ham and cheese, then sliced into kid-sized pinwheels in about 10 minutes. You can make them the night before, keep them from going soggy, pack them so they stay cold and safe, and swap the ingredients for dairy-free, gluten-free, or nut-free lunches.
Why these work for back-to-school lunchboxes
I have two kids, two different sets of lunch opinions, and roughly seven usable minutes on a school morning. Roll-ups are the thing I keep coming back to because they check every box a packing parent actually cares about.
I use whole-wheat tortillas instead of the cream-cheese-and-ranch party pinwheels you see everywhere. It’s a little sturdier, a little less heavy, and it fits the lunchbox job better than an appetizer platter does. If you want a couple more no-cook options in the rotation, the cucumber sandwiches with cream cheese and turkey are another nut-free win from the same “no stove, low cleanup” school of thought.
A quick note on the tortillas: reach for a soft, pliable whole-wheat tortilla rather than a stiff one. Sturdier tortillas hold a tight roll better and resist getting mushy, which matters a lot if you’re making these ahead. If a tortilla feels stiff or cracks at the edges, warm it for 10-15 seconds so it rolls without splitting.
Make-ahead and storage
This is the part the busy-morning version of me cares about most.
The night before
assemble and roll the tortillas, wrap the whole logs tightly in plastic wrap or foil, and refrigerate. Slice them in the morning (or slice ahead and store the pinwheels in an airtight container). Assembled, unsliced rolls hold well wrapped tight in the fridge for up to about 24 hours before slicing.
For the week
a lot of parents prep a batch on Sunday. That works, with a caveat - the sooner you eat them, the better they taste and the less risk of sogginess.
Shelf life
stored airtight in the fridge, ham and cheese roll-ups keep for up to 3-4 days, but they’re best within the first 2 days while the tortilla is still fresh and the filling hasn’t started to weep. I wouldn’t push past day 4.
How to keep them from going soggy
Sogginess is the #1 thing that ruins a make-ahead roll-up, and it’s almost always about moisture sitting against the tortilla. Three fixes handle it:
- Pat the ham dry. Deli ham carries more surface moisture than you’d think. A quick press with a paper towel before it goes on the tortilla makes a noticeable difference over a few hours in the fridge.
- Keep wet vegetables out of the roll. Tomato and cucumber release water as they sit, and that water goes straight into the tortilla. Pack those on the side as lunchbox extras instead of rolling them in.
- Use a sturdier tortilla. A thicker, good-quality whole-wheat tortilla resists getting mushy far better than a thin, flimsy one.
Do those three things and a roll-up made the night before still tastes made-that-morning.
Packing them safely (this part matters with ham)
Ham is a perishable meat, so this isn’t a fussy detail - it’s the actual food-safety piece of packing a meat lunch. Bacteria multiply fastest in the “danger zone” between 40°F and 140°F, and perishable food shouldn’t sit in that range for more than 2 hours total - and no more than 1 hour if it’s above 90°F, like a hot car or an outdoor pickup line.
The USDA’s guidance for keeping bag lunches safe is straightforward, and it’s what I follow:
- Use an insulated lunch bag or box rather than a paper sack.
- Pack at least two cold sources - for example, an ice pack plus a frozen juice box or frozen water bottle. Two sources keep things colder, longer, than one.
- Keep everything chilled until it leaves the house. Assemble and store the rolls in the fridge, and pack them cold straight from there.
- Remind kids to toss anything perishable that’s left uneaten rather than saving it for later - you can’t tell by looking whether it’s still safe.
Sources: USDA FSIS, Keeping Bag Lunches Safe, and USDA, Use an Insulated Lunch Bag to Keep Meals Safe.
How to keep the roll-ups from unrolling
Two things do the work here. First, roll tightly and leave that clean border of tortilla with no spread on it - a dry edge grips itself and seals the seam. Second, chill the rolled log for about an hour before you slice; a cold, firm roll cuts into tidy pinwheels that stay wound instead of springing open. If a particular piece still wants to unravel, a toothpick holds it (skip toothpicks for the youngest kids).
Allergy swaps: dairy-free, gluten-free, nut-free
One of the reasons I like this recipe is how little you have to change it to fit different lunchbox rules.
Nut-free
These are naturally nut-free as written - no nut butters, no nut-based anything. Just double-check the label on your tortillas and deli meat, since packaging and shared-facility warnings vary by brand.
Dairy-free
Swap the cheese slices for a dairy-free cheese you like. If you want the roll to hold together a little better without dairy cheese, a thin smear of dairy-free cream cheese or a swipe of hummus works as the “glue” and adds a bit of protein. The ham and tortilla don’t need to change.
Gluten-free
Use a gluten-free tortilla - brands like Mission Gluten Free, Udi’s, and Siete are widely available - or use corn tortillas. One honest heads-up: gluten-free and corn tortillas can be less flexible and are more prone to cracking when you roll them. Warming them for a few seconds first makes them more pliable, and rolling gently helps. I’d test one before you commit to a whole batch so you know how your specific brand behaves.
Kid-friendly variations
- Turkey instead of ham - a mild, kid-friendly swap that packs and stores the same way.
- Hummus smear - adds a dairy-free protein bump and helps the roll hold together.
- Cheese-only - for the pickiest eater at the table, a plain cheese-and-tortilla roll still counts as a win.
- Different cheeses - cheddar, Swiss, provolone, whatever your kid actually eats.
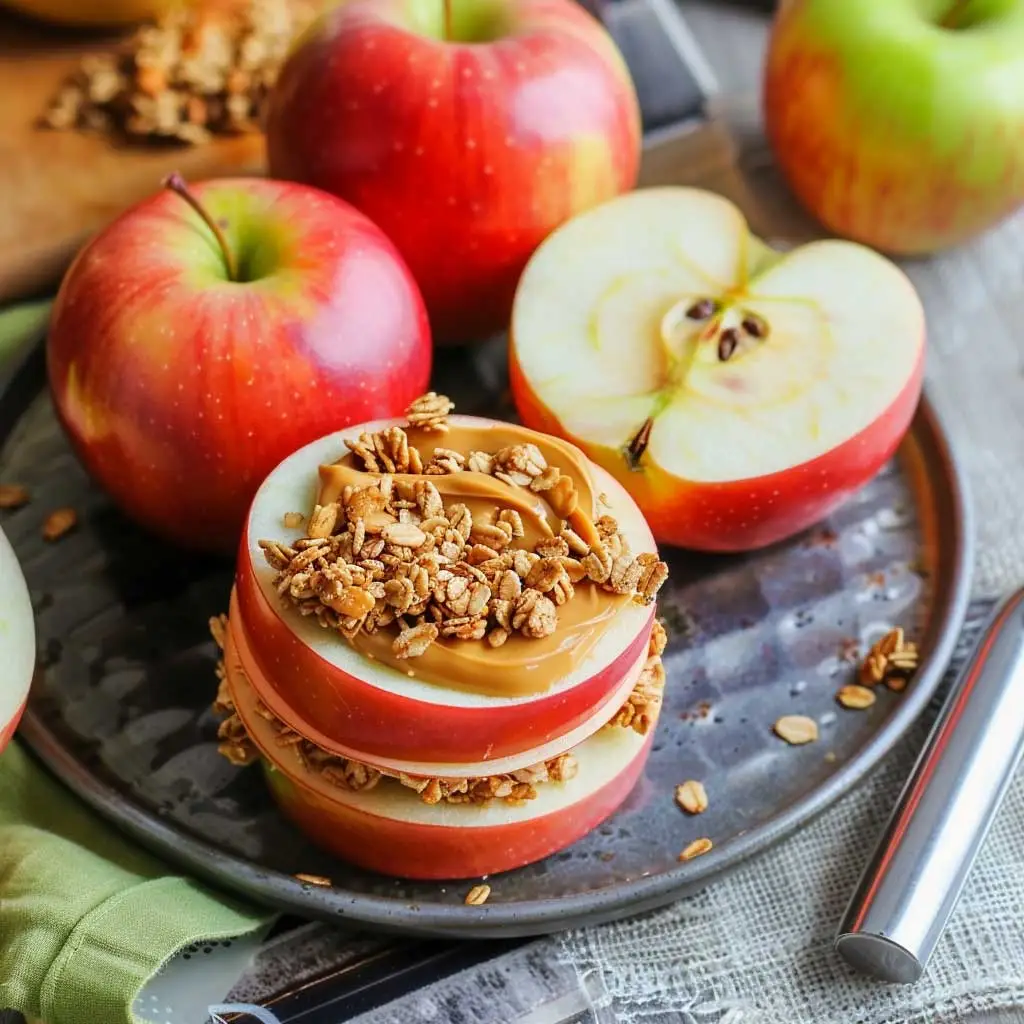
Round out the box with something fresh and easy. A little container of rainbow fruit salad with honey-lime dressing pairs perfectly with these, and if you want more lunchbox ideas to rotate in, the apple sandwiches with peanut butter and granola are another quick one - just note those contain peanut butter, so they’re not for nut-free lunches.

Nutrition
The information shown is an estimate provided by an online nutrition calculator. It should not be considered a substitute for a professional nutritionist’s advice. See our full nutrition disclosure here.
Frequently asked questions
How long do ham and cheese roll-ups last in the fridge?
Stored airtight, they keep for up to 3-4 days, but they’re at their best within the first 2 days before the tortilla softens and the filling starts to release moisture.
Do tortilla roll-ups get soggy, and how do I stop it?
They can, but it’s preventable. Pat the ham dry before rolling, keep wet vegetables like tomato and cucumber out of the roll (pack them on the side), and use a sturdier, thicker tortilla. Those three habits keep make-ahead roll-ups from getting mushy.
Can I make ham and cheese roll-ups ahead of time?
Yes - that’s what they’re built for. Assemble and roll the tortillas, wrap the logs tightly, and refrigerate up to about 24 hours before slicing. Chilling the rolls also helps them slice into cleaner pinwheels.
Is it safe to pack ham in a lunchbox without refrigeration?
Ham is perishable, so it needs to stay cold. Keep it out of the 40-140°F danger zone, don’t let it sit unrefrigerated for more than 2 hours, and pack it in an insulated bag with at least two cold sources (like an ice pack plus a frozen drink) to stay safe until lunchtime.
How do I keep the roll-ups from unrolling?
Roll them tightly, leave a clean border of plain tortilla to seal the seam, and chill the log for about an hour before slicing. A toothpick per piece is an easy backup if any still want to spring open.
Can I make them dairy-free or gluten-free?
Yes to both. For dairy-free, use a dairy-free cheese (a swipe of dairy-free cream cheese or hummus helps them hold). For gluten-free, use a gluten-free tortilla - Mission Gluten Free, Udi’s, or Siete - or corn tortillas, warming them first so they don’t crack when you roll.
A note from Anna
Roll-ups earned their permanent spot in my lunch rotation the honest way: they’re fast, there’s almost nothing to clean up, and they don’t come home half-eaten as often as a regular sandwich does. Build them the soggy-proof way, keep them cold, and adjust the fillings for whatever rules your kid’s lunchroom has. That’s the whole trick. If you try a fun filling combo that your crew loves, tell me about it - I’m always looking for a new one to add to the Sunday-prep list.
The recipe
Ham and Cheese Roll-Ups
- Prep
- 10 min
- Cook
- 0 min
- Total
- 10 min
Instructions
- Lay the tortillas out flat on a clean cutting board or counter.
- If using mustard or mayo, spread a thin layer over each tortilla, leaving a small clean border.
- Pat the ham dry, then layer 2 slices of ham and 1 slice of cheese onto each tortilla.
- Keep wet vegetables out of the roll and pack them on the side.
- Starting from one edge, roll each tortilla up tightly into a spiral.
- Chill the rolled logs about an hour before slicing.
- Slice each roll into bite-size pinwheels, about 1 to 1.5 inches thick.
- Add a toothpick per piece if needed, then pack or serve.
- Protein20g24%
- Carbs23g27%
- Fat19g49%
Full Nutrition Facts label
Nutrition Facts
4 servings per recipe
Serving size1 serving
Amount per serving
% Daily Value*
The % Daily Value (DV) tells you how much a nutrient in a serving of food contributes to a daily diet. 2,000 calories a day is used for general nutrition advice.
An automatic estimate from the ingredients - a friendly guide, not medical advice. Real values shift with brands, sizes, and how you cook.
Make it yours
Track it and jot your own tweaks — private to this device.
Cook log
Not made yet — tap below the first time you cook it.
Your notes
Your notes will collect here, newest first.